Bespoke Newborn Photography in Kent
For a long time now I have seen fellow photographers making their own wooden floor and backdrops. I’ve looked on in envy, because they look stunning! But they all had one thing in common. They all had a studio to keep them in, or at least worked from home. So these beautiful wooden creations were out of my reach, as I offer a bespoke home service and I couldn’t possibly fit something like that in the car.
For so long I looked and longed for a solution. What I needed was lightweight wood, and some way of fixing it together so that it could be folded easily for transport, but lie flat when in use. And then one night, whilst awake feeding my little munchkin, inspiration hit. I couldn’t wait to get to work!
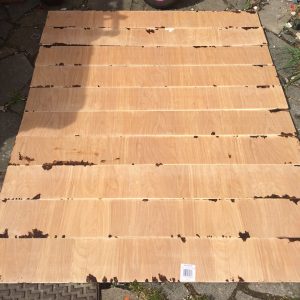
To start with, I bought a sheet of hardwood plywood from Homebase and a roll of 5cm wide webbing from Amazon. I also bought some dark brown woodstain from The Range. The lovely man who served me in Homebase cut my wood into 10 150mm wide strips for me, and I took what was left home for a later project.
So I got started. First I sanded down the cut edges of my strips, as they were quite rough and splintery from the machine used to cut them. I used an electric sander, and medium/fine paper. The surface of the wood itself was sanded smooth already, so preparation didn’t take long at all.
Next I laid the planks out and painted them with the woodstain. I gave them two coats in total, leaving about 5 hours between each one.
Once the planks were dry (I left them over night) it was time to fix them together. I laid out the strips side by side, with the stained side down, making sure to line up the edges neatly. I ended up with a rectangle 1.5m wide x 1.2m deep.

Next I measured out my webbing. I cut 4 strips the same width as my finished flooring (1.5m). Then I got to work stapling them to my wood. I used a heavy duty staple gun and staples, to make sure it was securely fixed.
At this point, in true British fashion, it started to rain! So I had to quickly pick everything up and bring it indoors to finish. The lighting was not very good, so this is where the photos end.
I actually ended up putting alot more staples in, as it didn’t feel secure enough to withstand repeated folding and unfolding.
Once it was finished I was able to fold it, two planks in from each side, and then in the middle. Which, once secured with bungee cords, left me with a bundle that was easy to fit in the car and can be lifted by one person. Exactly what I wanted!
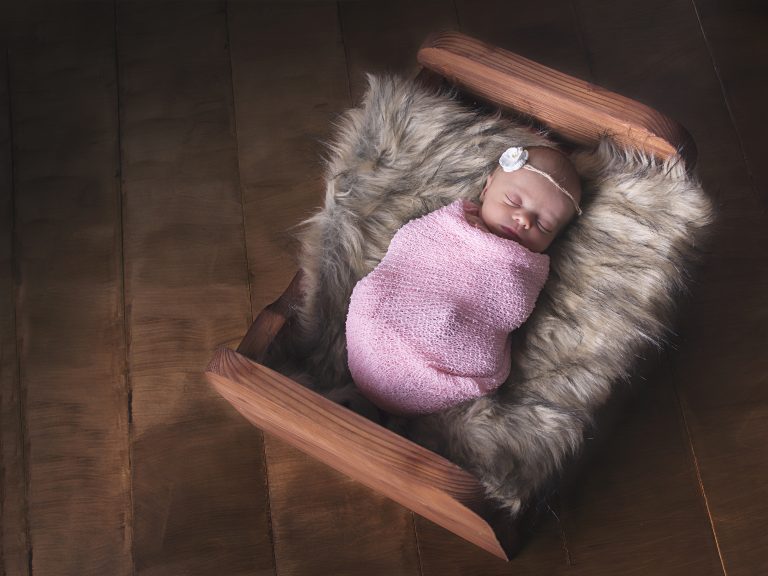
I got to use my new flooring for a session just two days later. I’m so happy with how it looks in the photos! No its not beautiful, reclaimed, deep grain wood. But that just isn’t feasible for me (too bulky, far too heavy!). This is the ideal solution for me 🙂
Now I know how easy it is I plan to make a lovely distressed white wood one next!
If you would like more information on my bespoke home newborn sessions, details can be found here.
Kelly.x


